This tutorial will show you how to connect your Sega Genesis Mini to a USB drive to add more room. The hakchi2 CE installation will allow you to read USB drives from your console. We’ll need to configure the drive so that games can run off it.
Items Needed
- Sega Genesis Mini: You can still get unopened Sega Mini on Ebay here: https://ebay.us/4X7pt9
- Have hakchi2 CE Installed: Guide here.
- Roms
- USB Flashdrive such as the one I got here:
How-to Configure USB Drive for Sega Genesis Mini
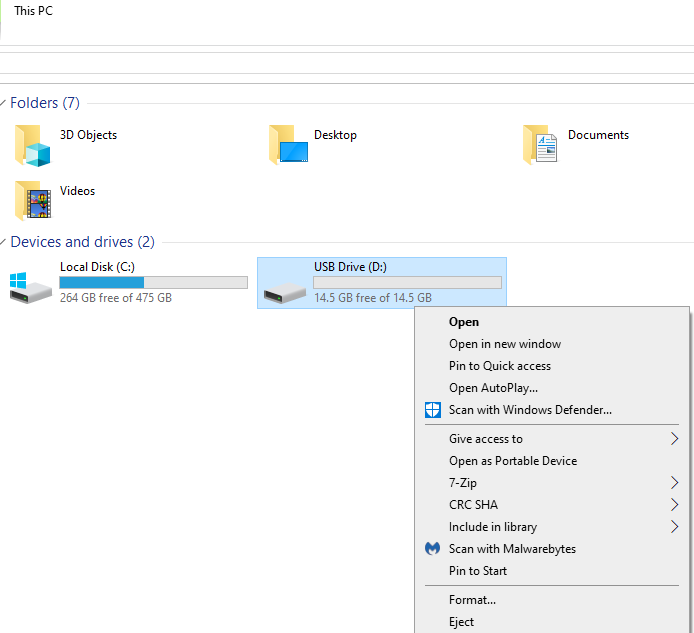
1. Insert USB drive to computer, locate the USB drive on your computer, right-click it, and go to Format…
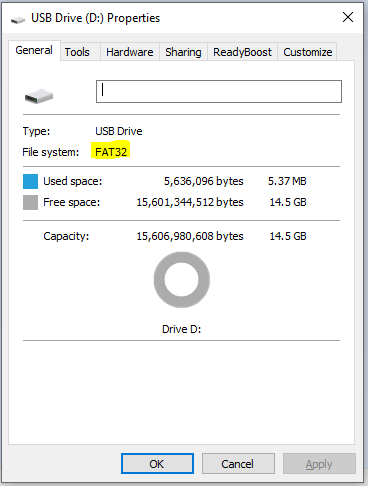
 2. Select fat32 as the File system and press Start.
 3. Start up hakchi, your Mini does not have to be connected.
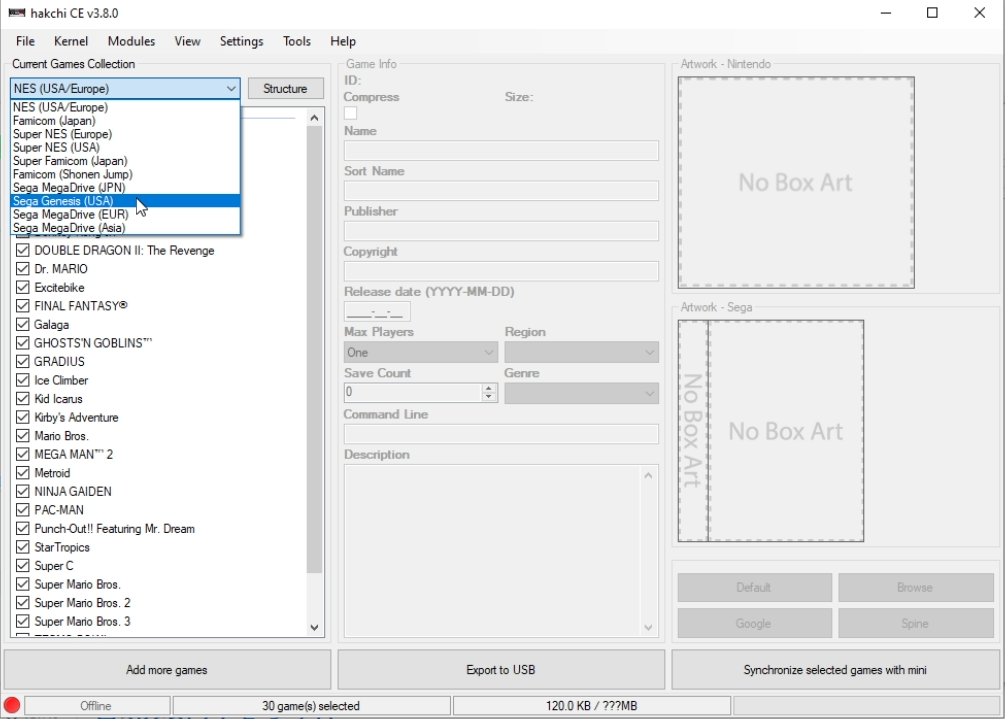 4. Hit Add more games, add your ROMs, and set up your art work.
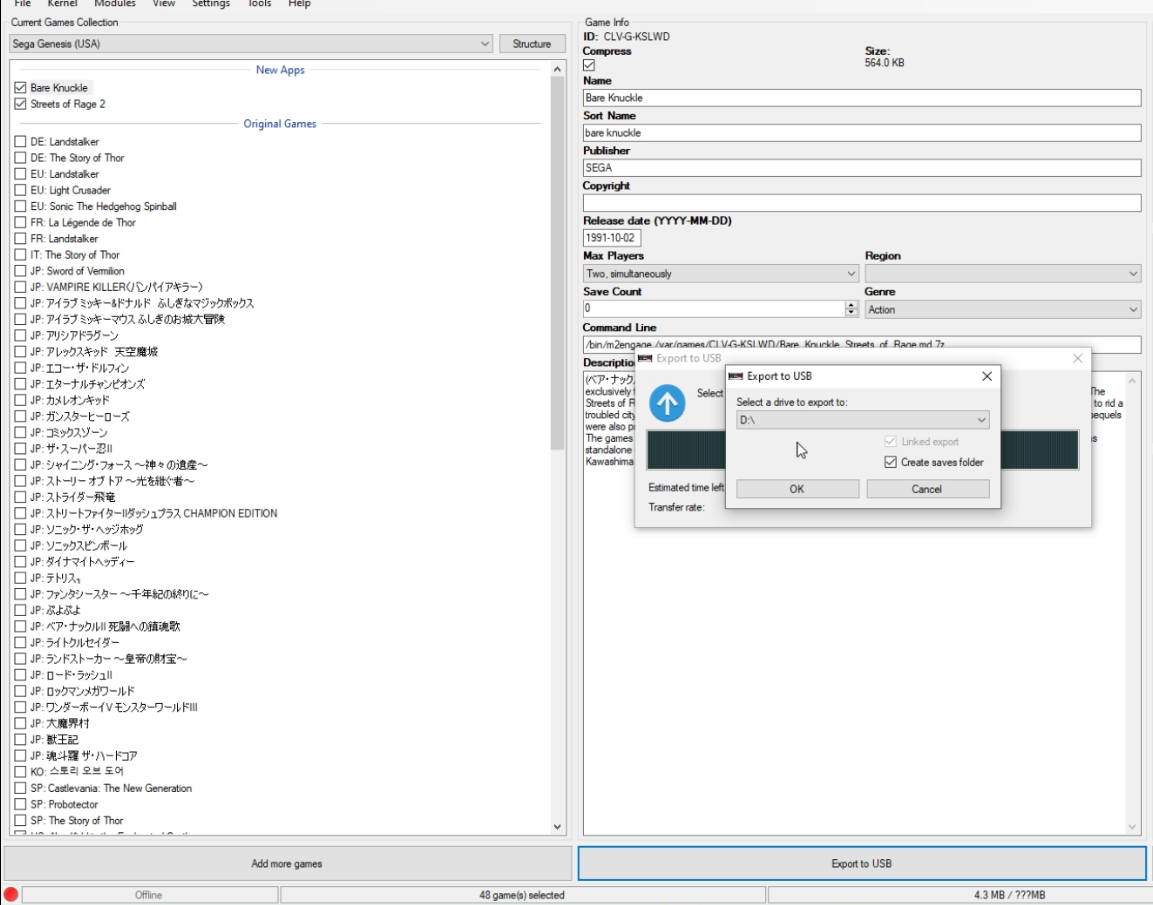
 5. Once you are done, hit Export games and select your USB drive.
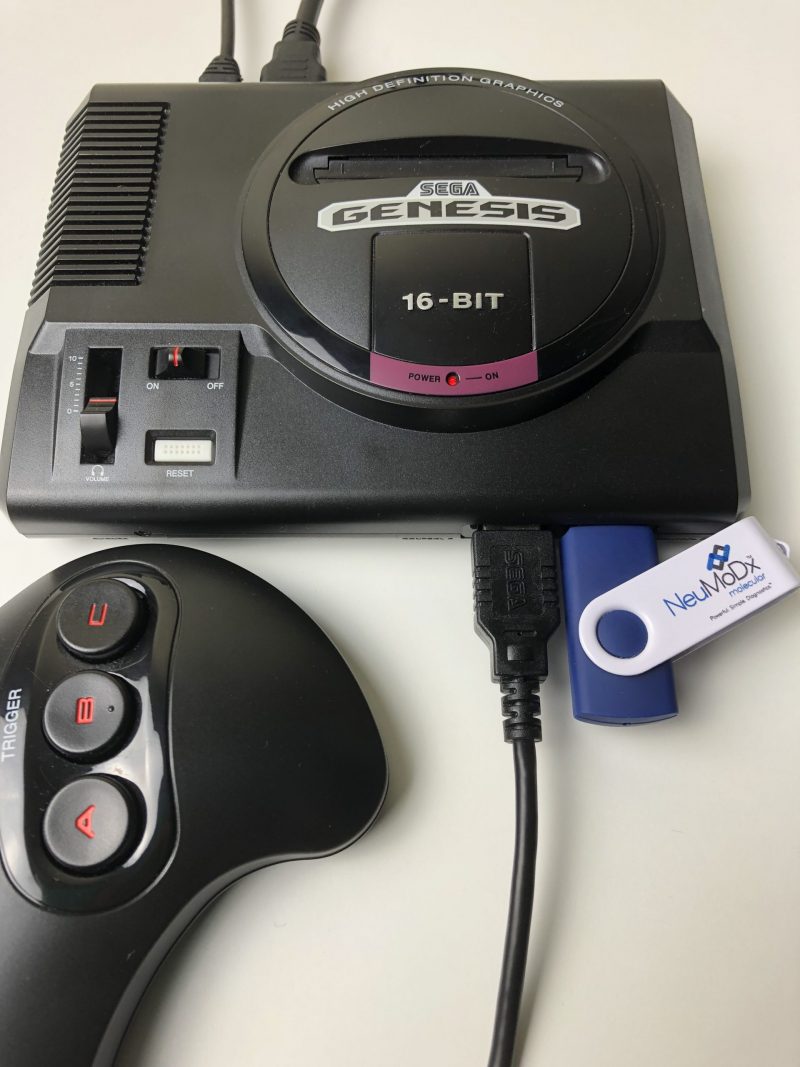
 6. Plug the USB drive into the Player 2 controller slot, if you need the second controller slot available, you can buy an adapter.
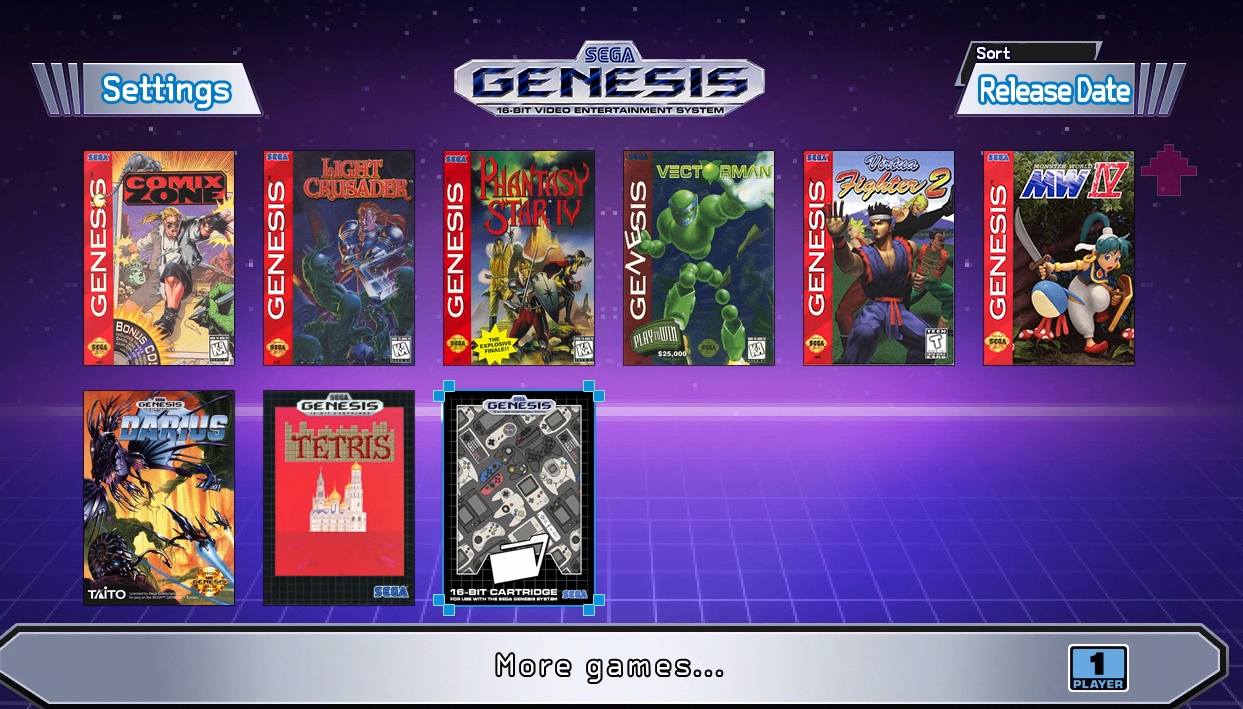
 7. Go into your Sega Mini and scroll all the way down to More games…
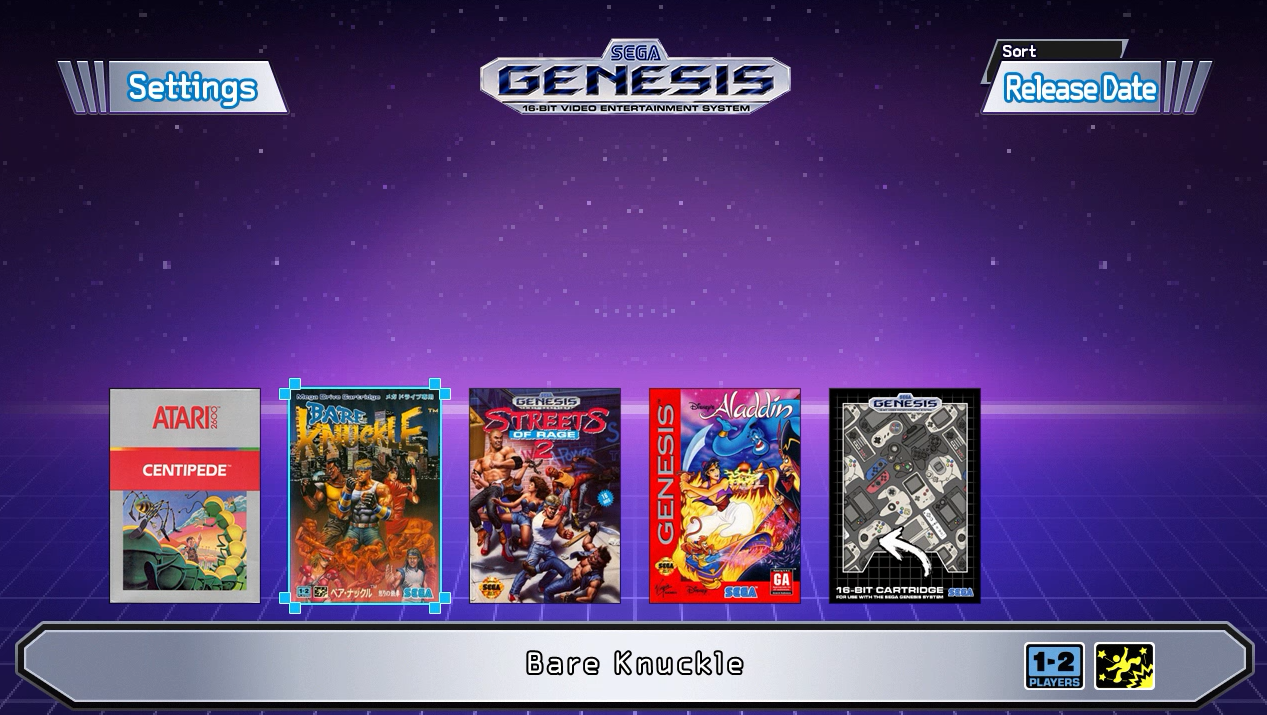
 8. This is where you can find all the new games.
Follow our tutorial here to learn how to add more Sega Genesis games to your console.

2 replies on “Add More Memory to Sega Genesis Mini Hakchi2”
Hi!
With an adapter, I can use USB drive AND connect the second controller to play 2 players?
Yes this is only possible with the adapter.