This tutorial will show you how to customize the home menu on your Sega Genesis Mini. First, you will need to install hakchi2 CE to your console.
Files Needed
- Have hakchi2 CE Installed: Guide here.
- Images (Optional)
- USB Memory Stick (Optional but highly recommended as the Sega Mini does not have a lot of internal storage. ) I got mine here:
How-to Create Custom Home Screen for Sega Genesis Mini
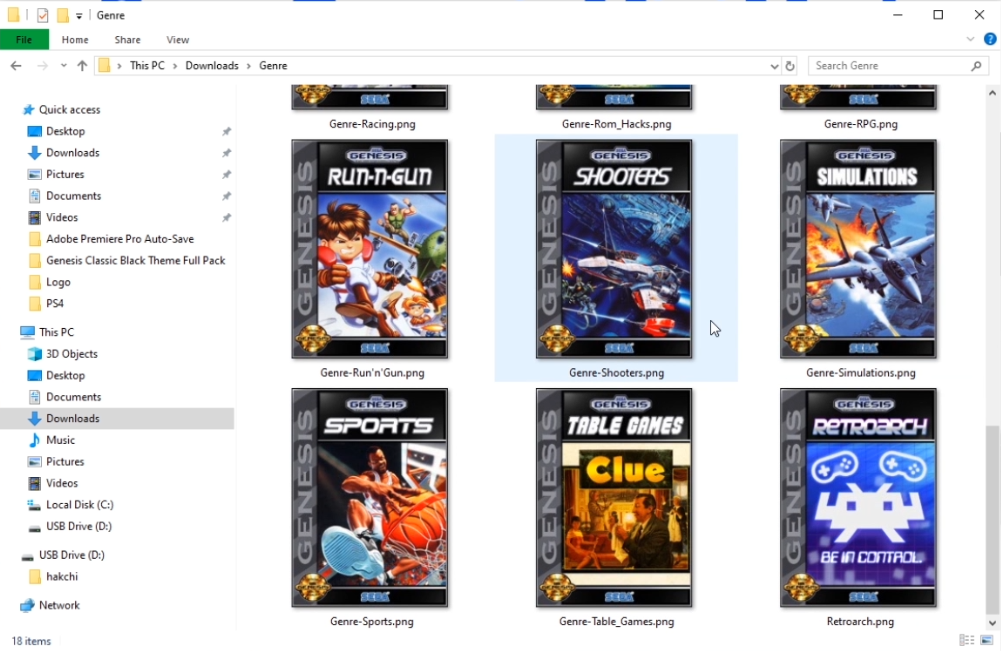
1. Create a folder containing the images you want to use (or you can use the images that came with Hakchi).
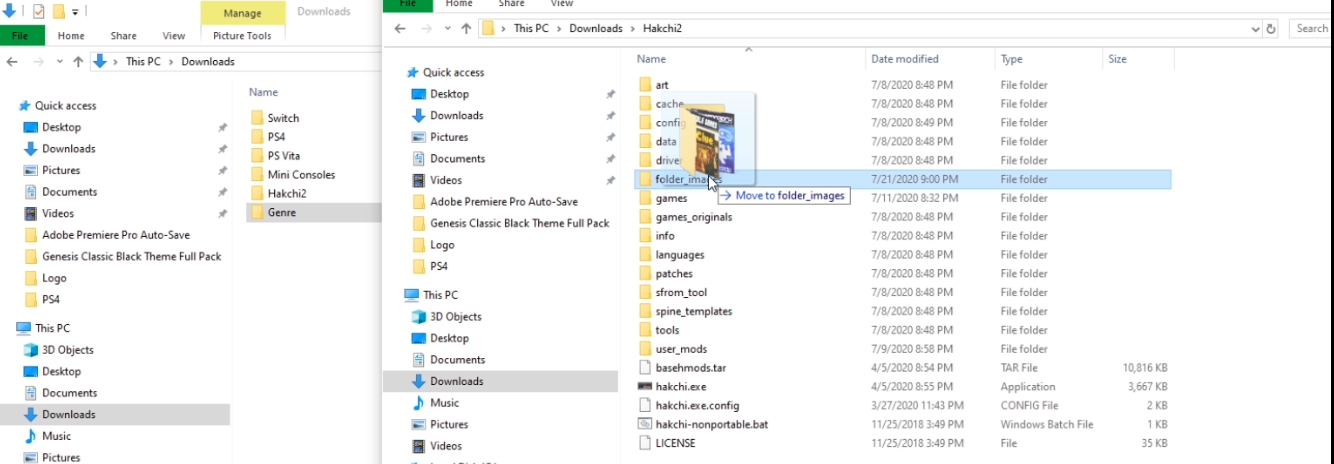
 2. Drag the folder into the folder containing your Hakchi.exe under folder_images.
 3. Open Hakchi and connect an USB memory stick to your PC or connect your Mini to your PC if you have enough storage space.
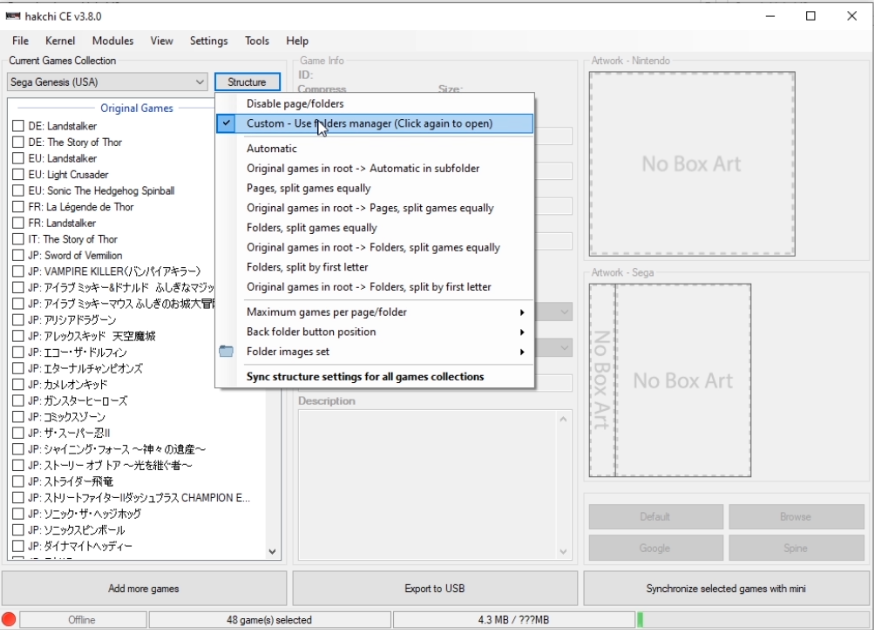
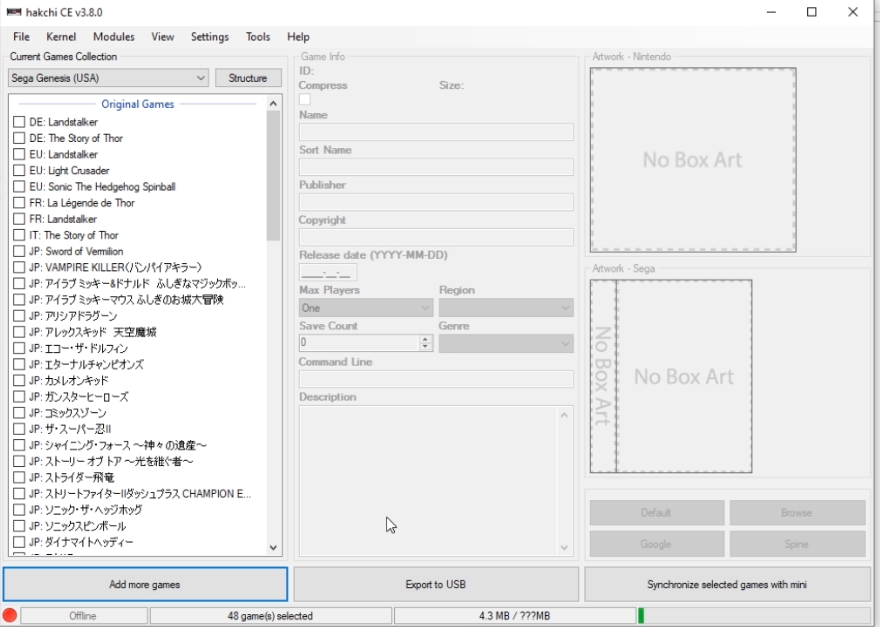 4. Go to Structure and click on “Custom – Use folders manager (Click again to open). You might have to click it twice.
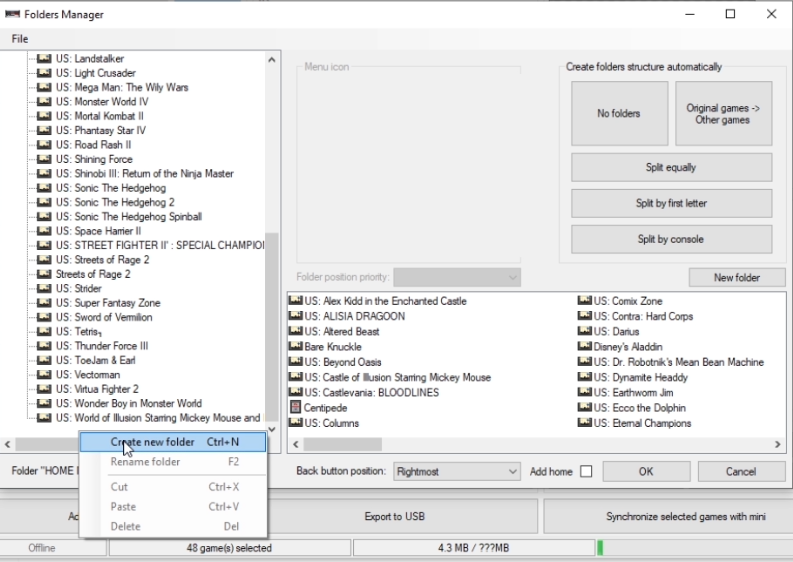
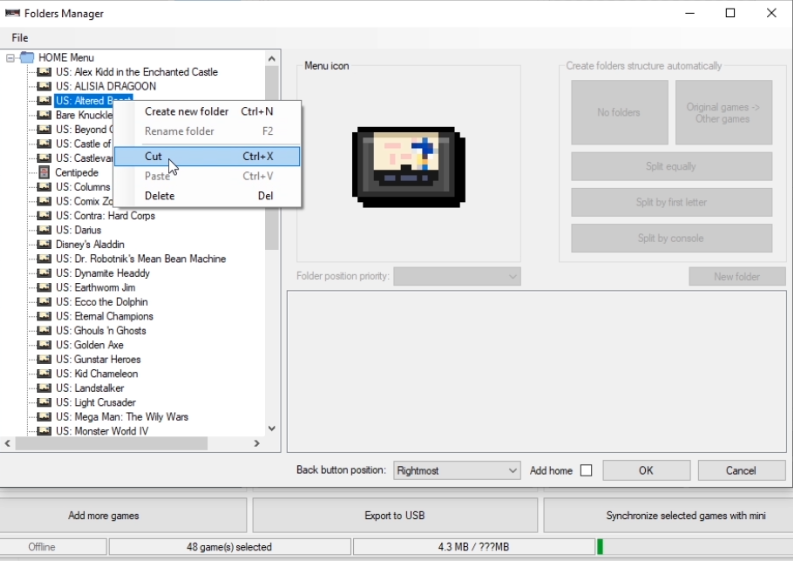
 5. Once the Folders Manager pops up, right click on anything under the File header and click Create new folder.
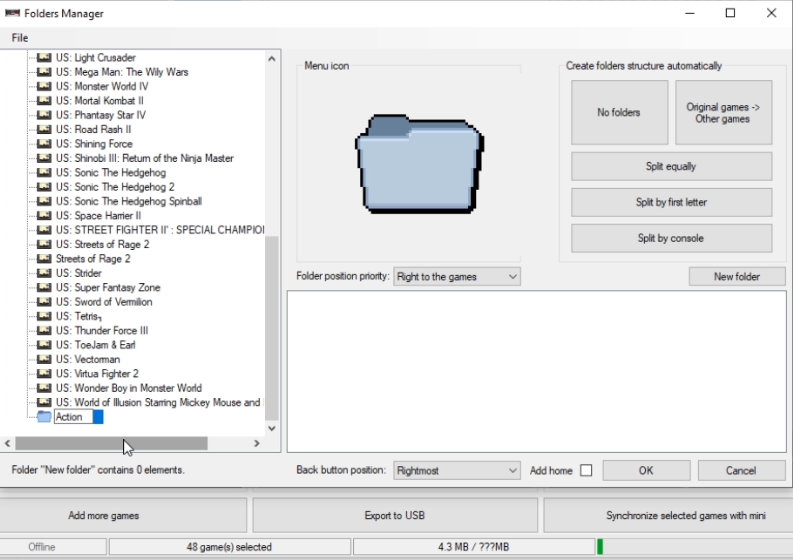
 6. Name this folder (Since I am breaking mine down by genre, I named it Action but this can for different systems Ex: Game Boy Color).
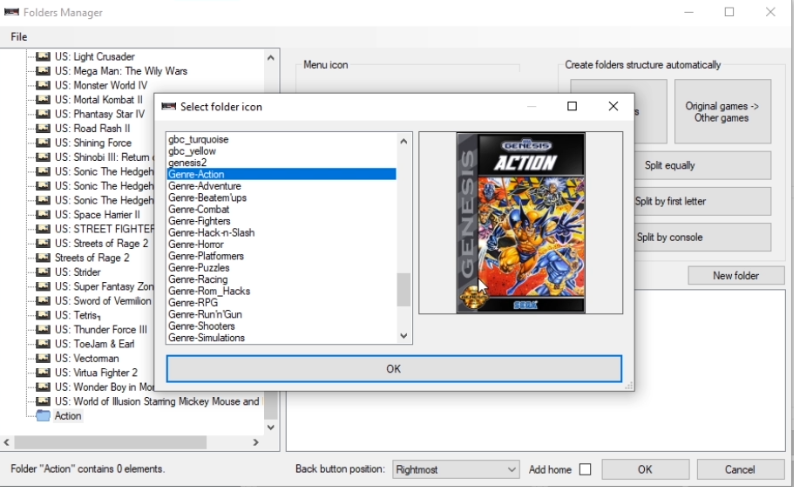
7. Double click on the grey folder under Menu Icon to select the image (You should see the images you added or you can just use the images that came with Hakchi).
8. Now click on the game you want to put into the folder (see my guide here for how to add games) by dragging the game into the folder or right clicking and then cutting and pasting.
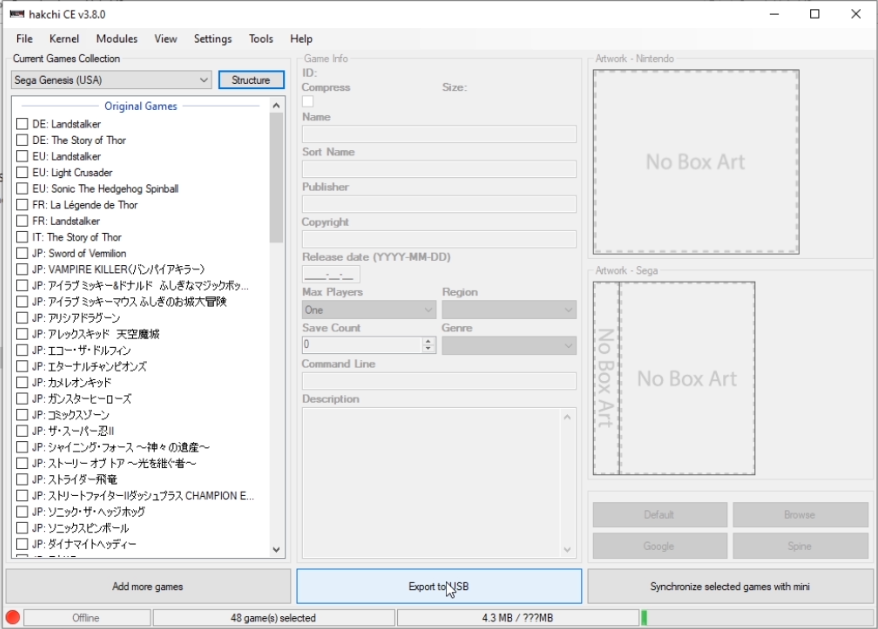
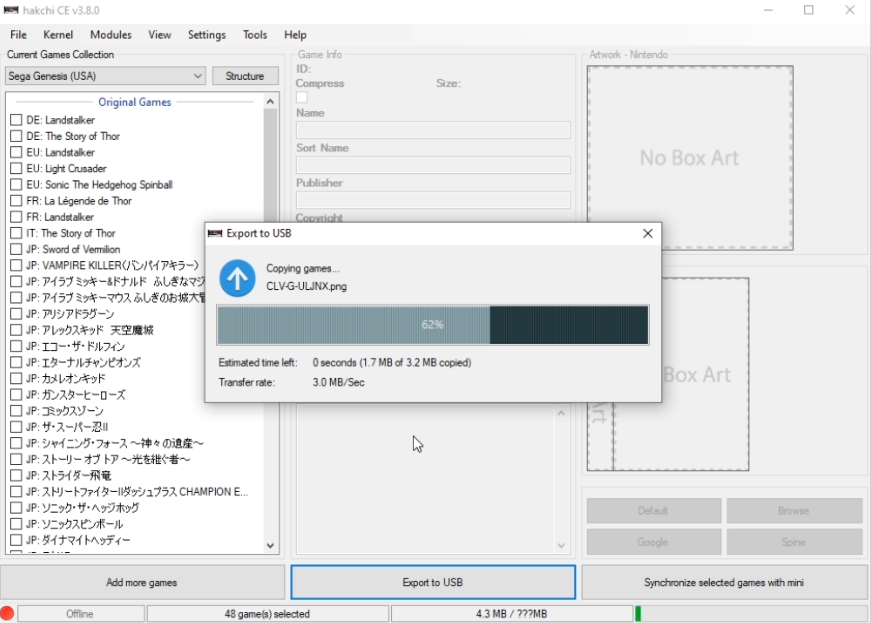
9. Click Ok and then repeat steps 6 -8 for the rest of your custom folders.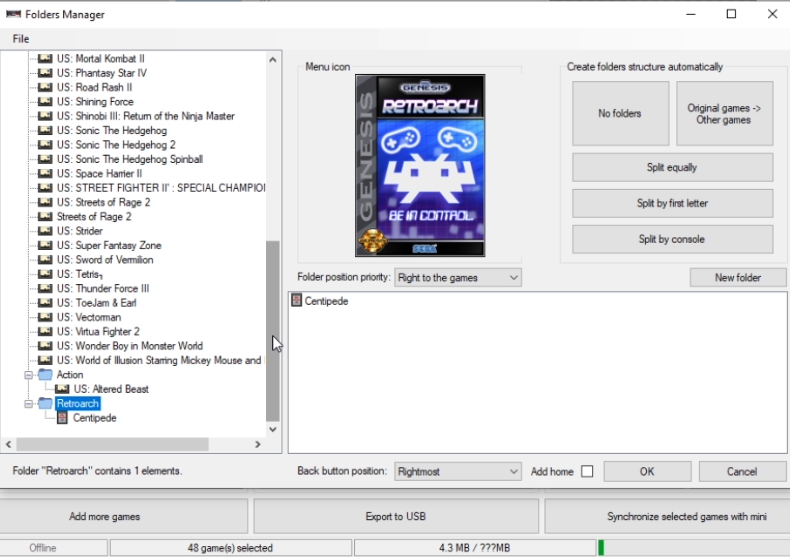 10. Once done, click on Export to USB or Synchronize selected games with mini (make sure you have enough space with this option).
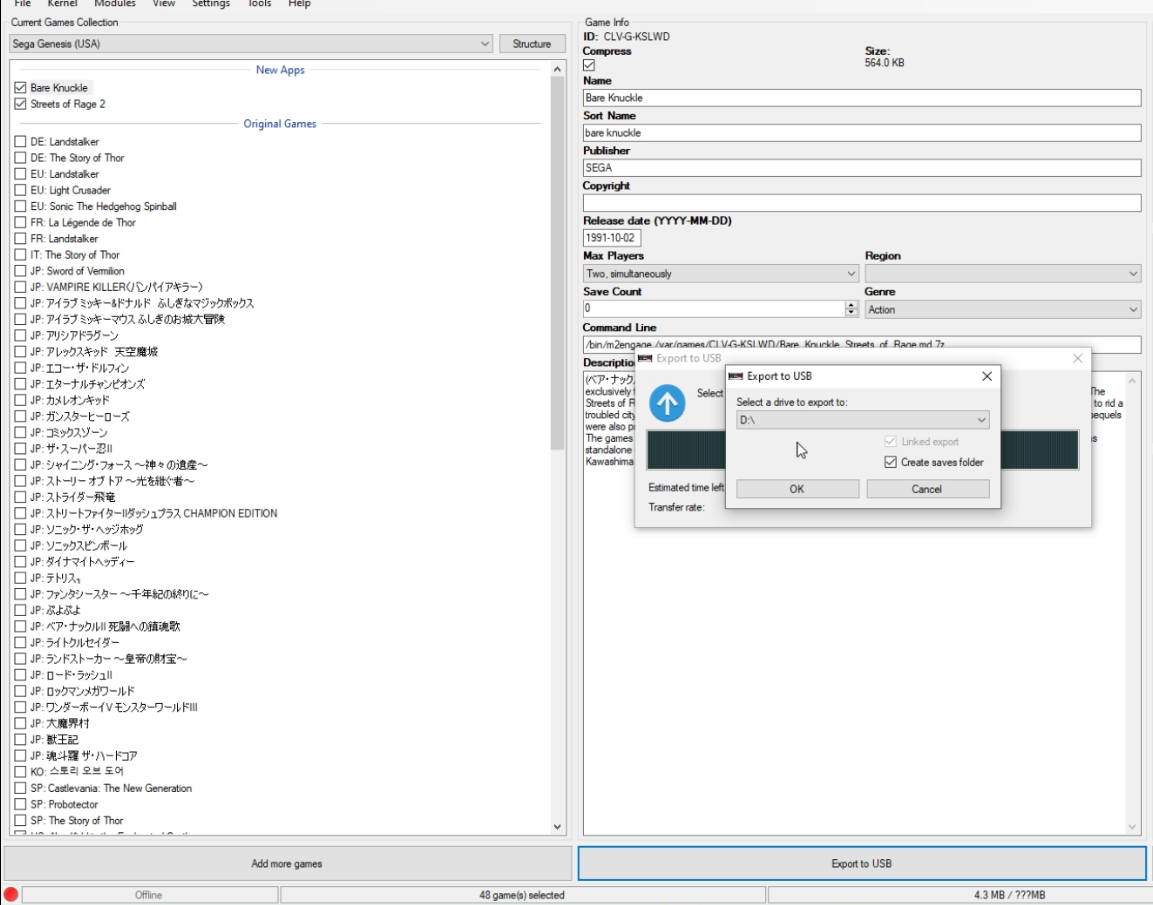
If you select Export to USB, select the correct drive.
 11. The Folders Manager will pop up again, just click OK.
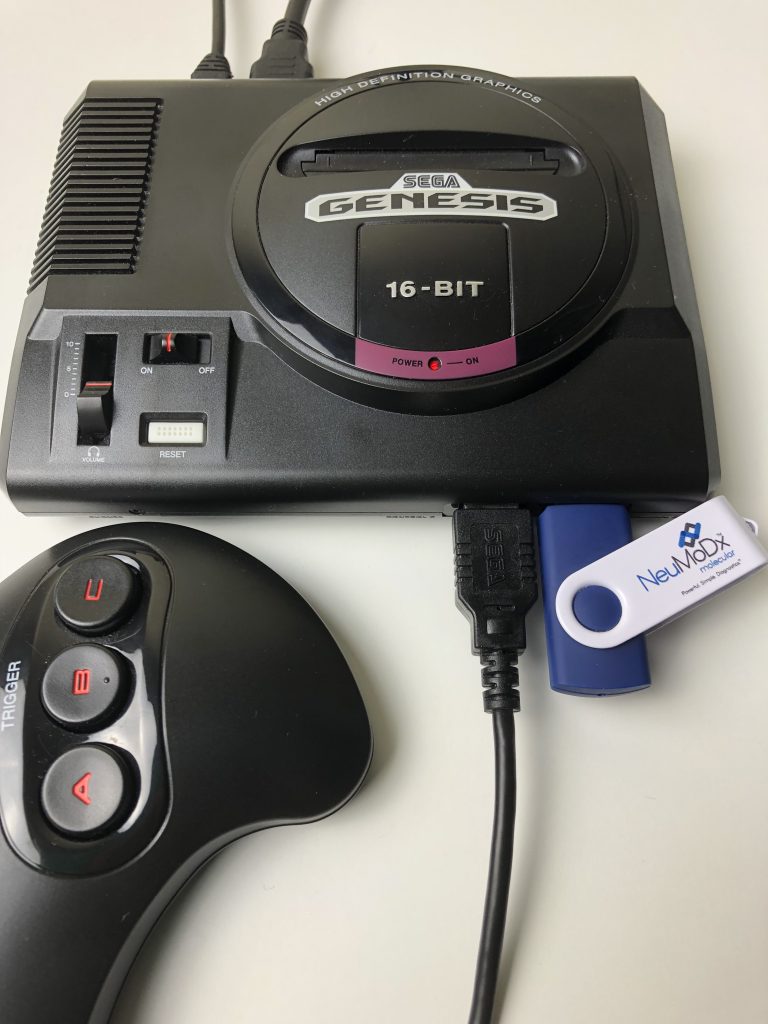
 12. Wait for Hakchi to stop syncing and then boot up the Sega Mini (plug in USB to Sega Mini if export to USB).
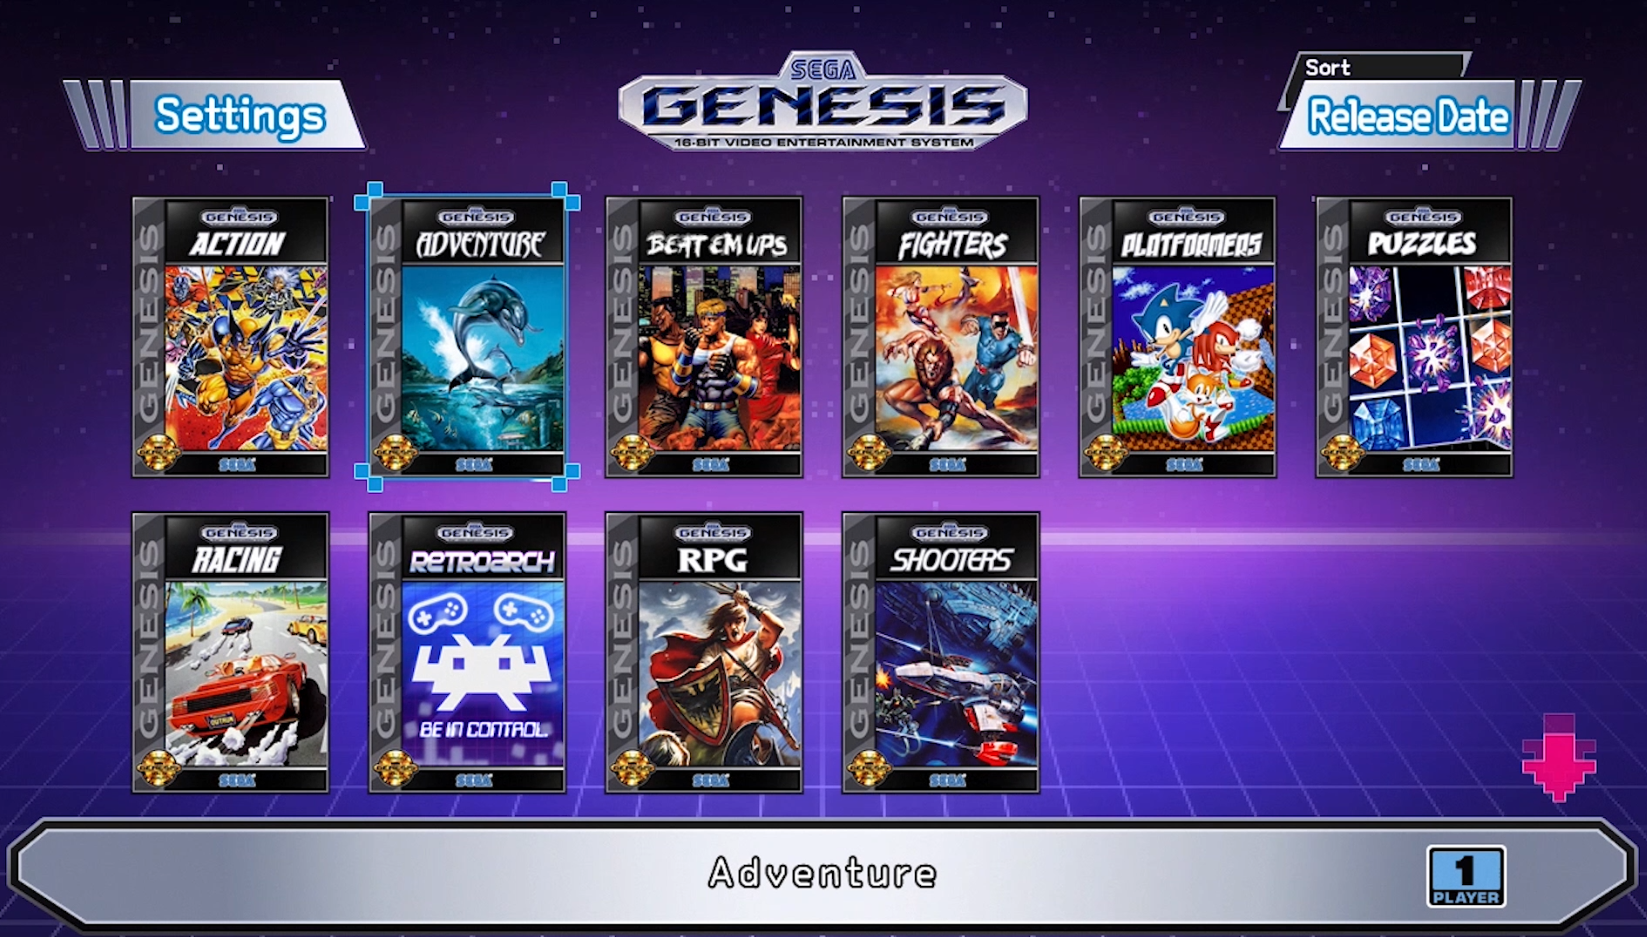
 13. The Home screen should now contain the folders you created.