This tutorial will show you how to install Retroarch, which would allow you to use emulators.
Items Needed
Have Project Lunar Installed: Guide Here.
USB Flashdrive such as the one I got Here.
Roms
How-to Add Emulators to the Sega Genesis Mini
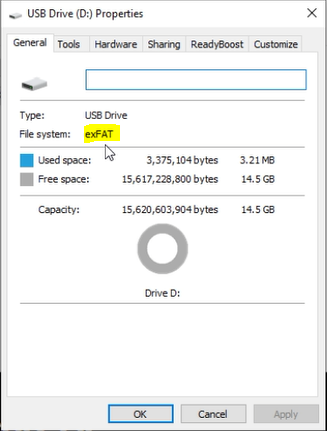
1. Make sure your flash drive is formated to fat32 or exFat.
 2. Connect Sega Mini to PC and launch Project Lunar.
 3. In Project Lunar got to Tools/Get Retroarch Cores (think of these as your emulators and select the cores you want).
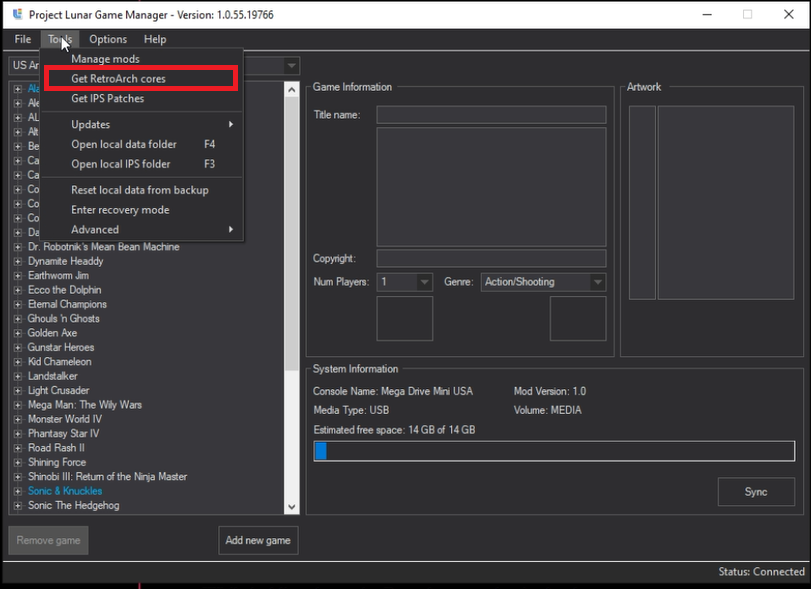 See this list of cores to help you identified which emulators you want.
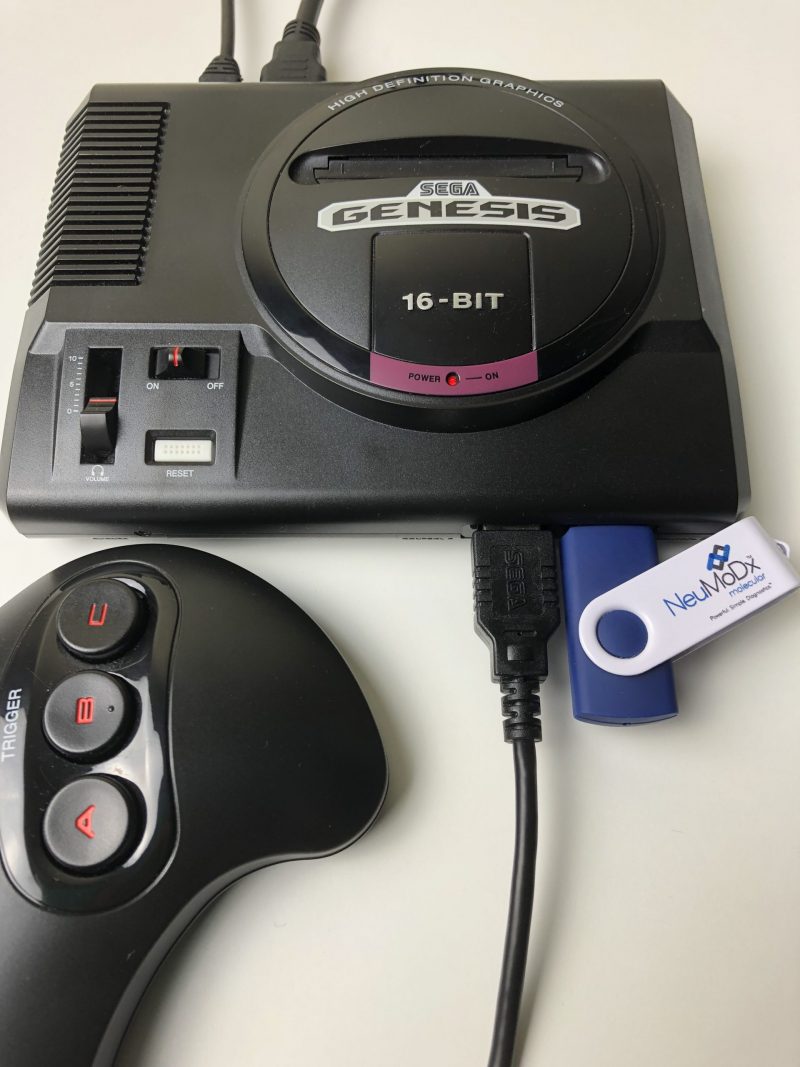
4. Disconnect Sega Mini from PC, plug the USB drive into the second controller slot, and then boot up the Sega Mini.
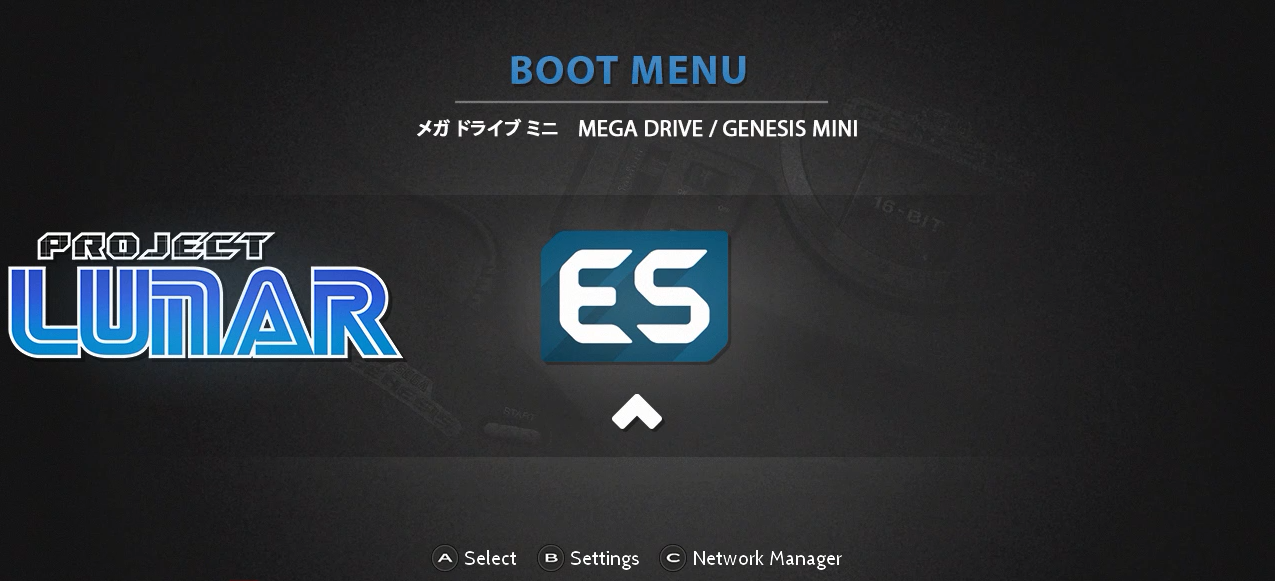
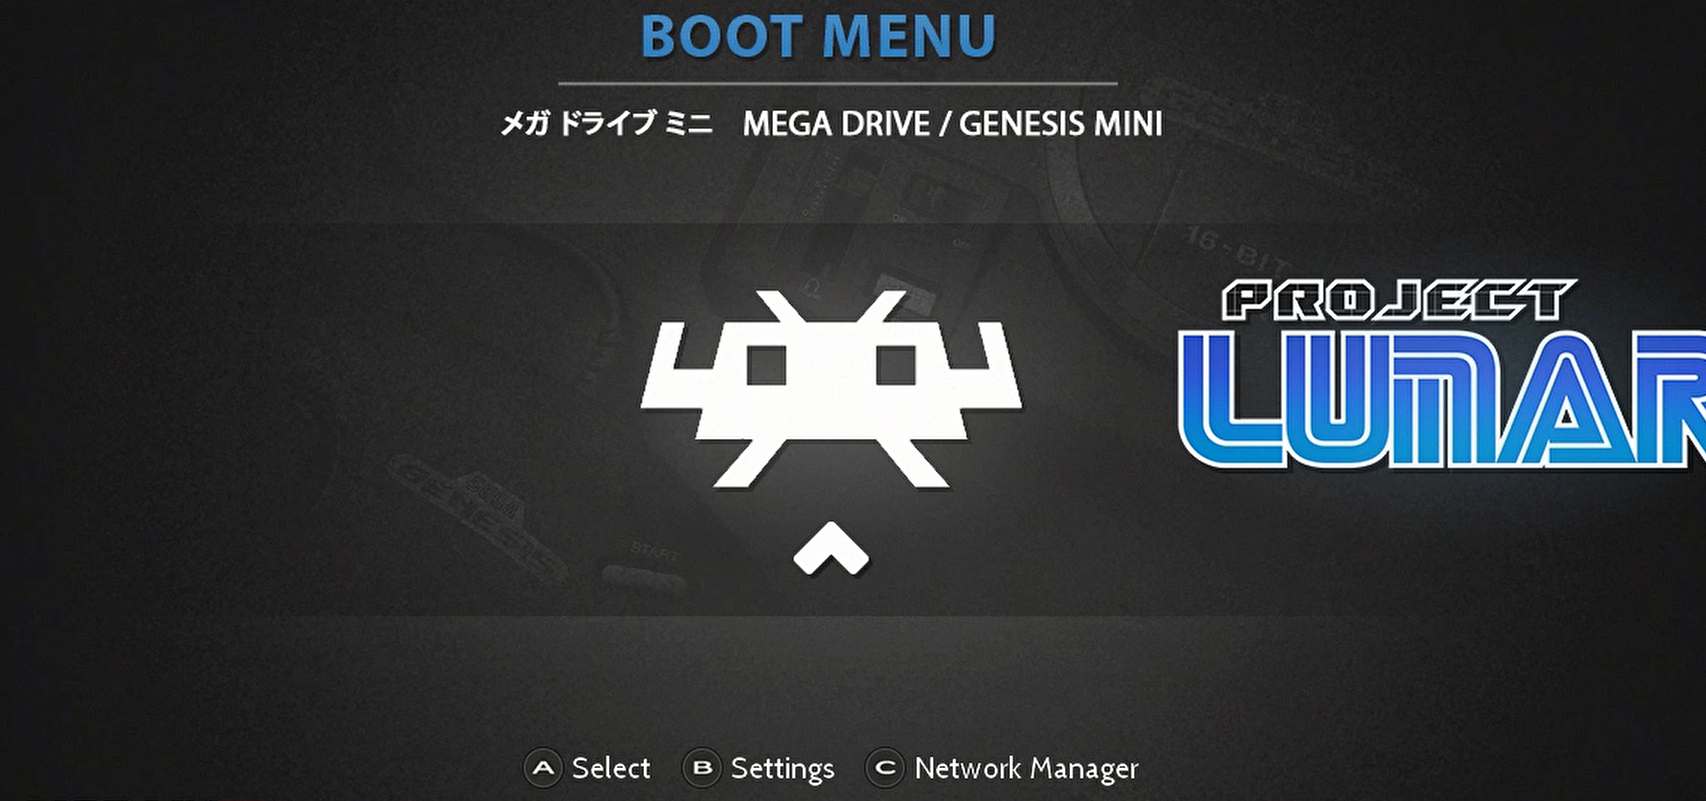
 5. Go into the Project Lunar Boot Screen and press right and select Emulation Station.
 6. Wait for Project Lunar to install the mods onto the USB drive.
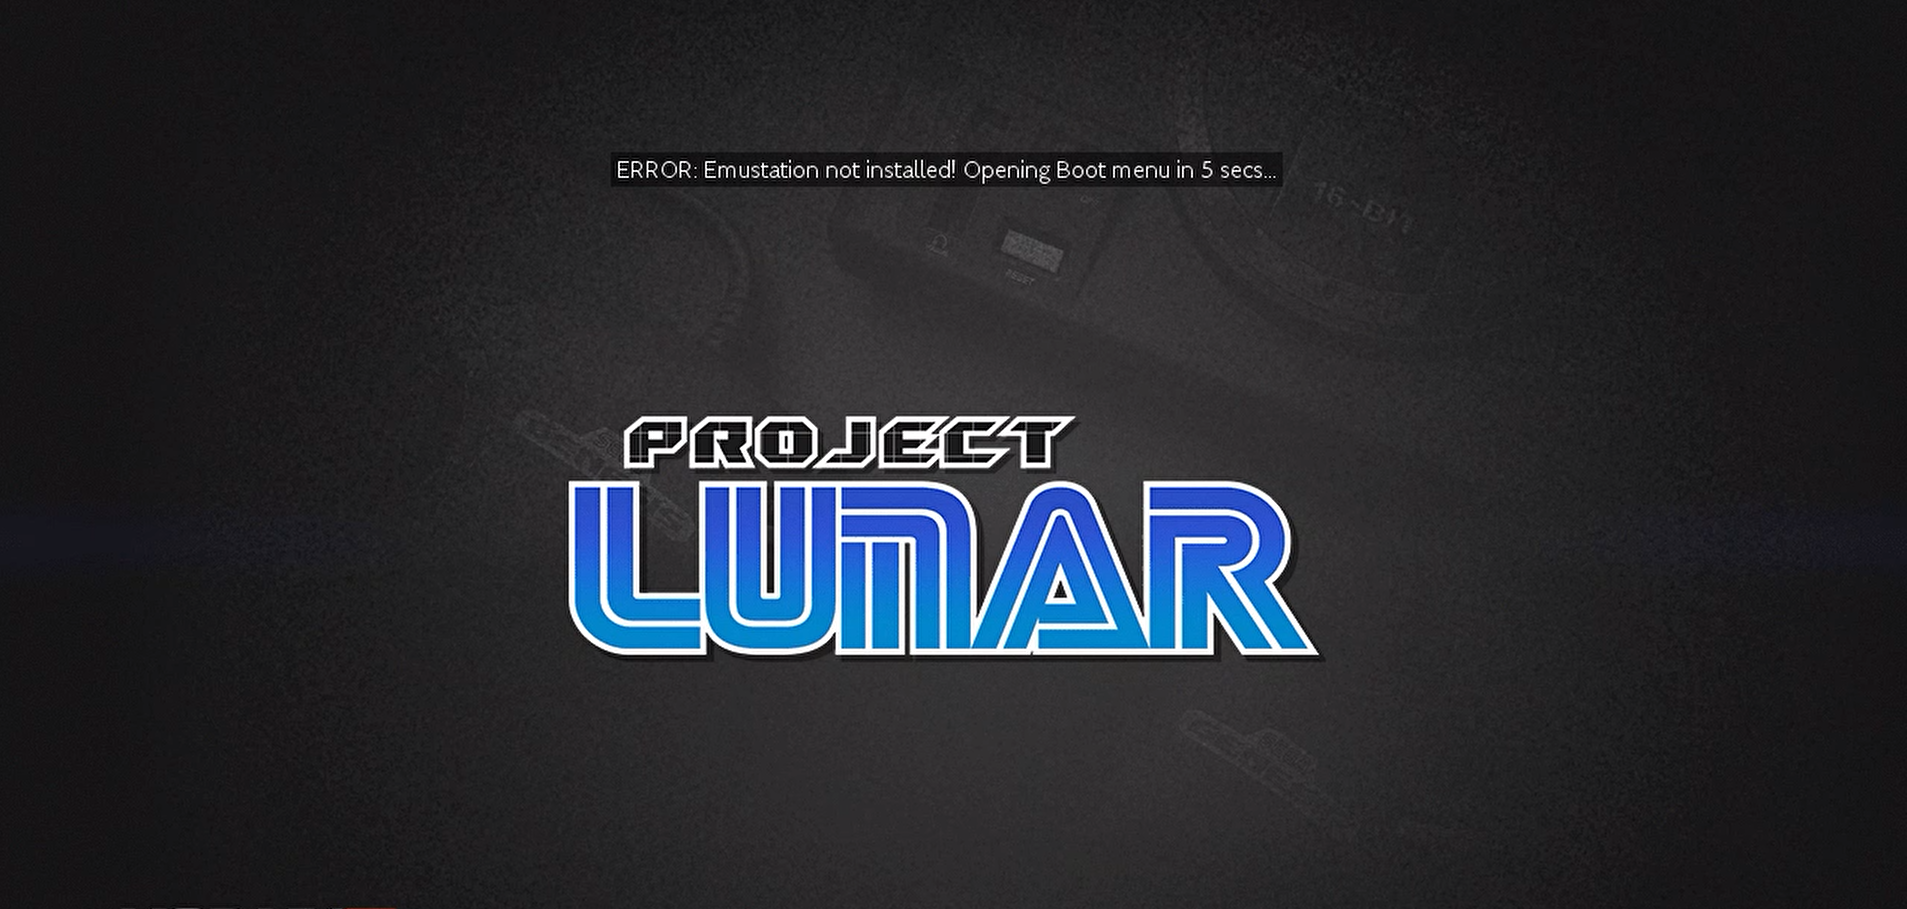
- It is OK if you get the error message “Emustation not installed!”
7. Shut Down the Sega Mini console and put USB drive into PC.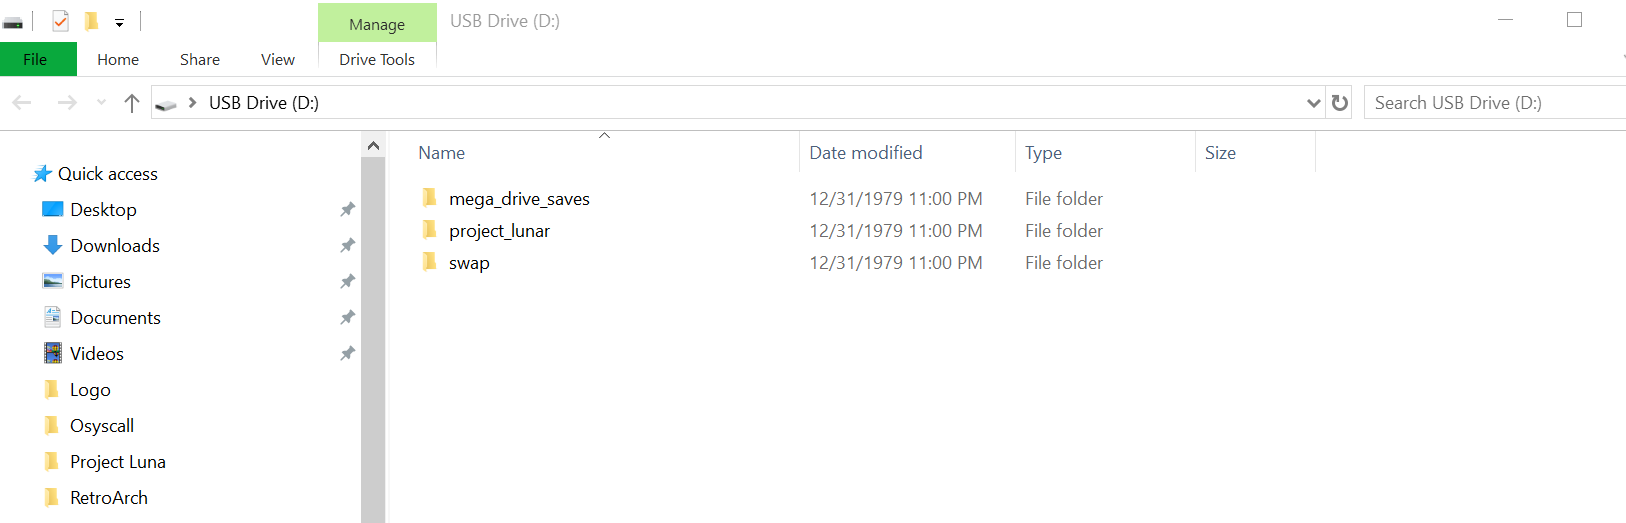
- Project Lunar installed 3 folders on the USB drive.
8. On the USB drive, go to project_lunar/roms to add your roms.
- You can just copy and paste all your roms into this rom folder (it is not necessary to create separate folders for the roms).
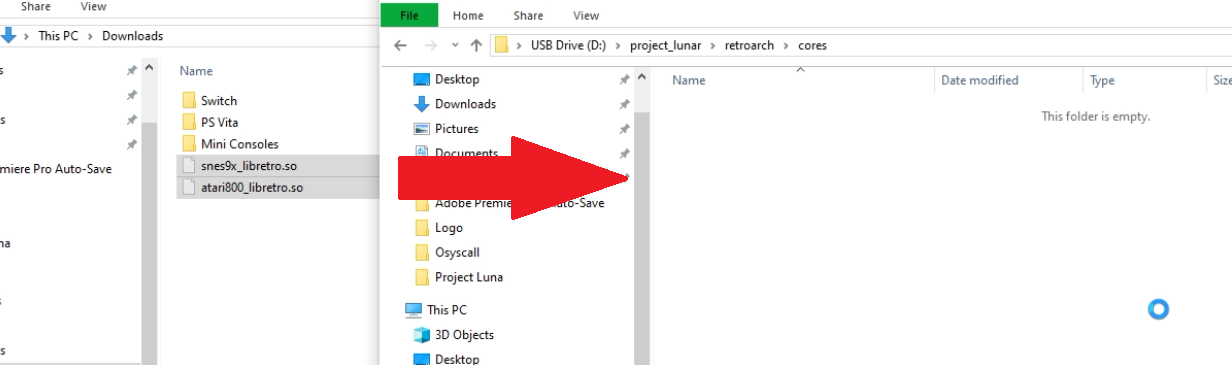
9. On the USB drive, go to project_lunar/retroarch/cores to add your cores.
 10. Boot up the Sega Mini again, and press left to go into Retroarch.
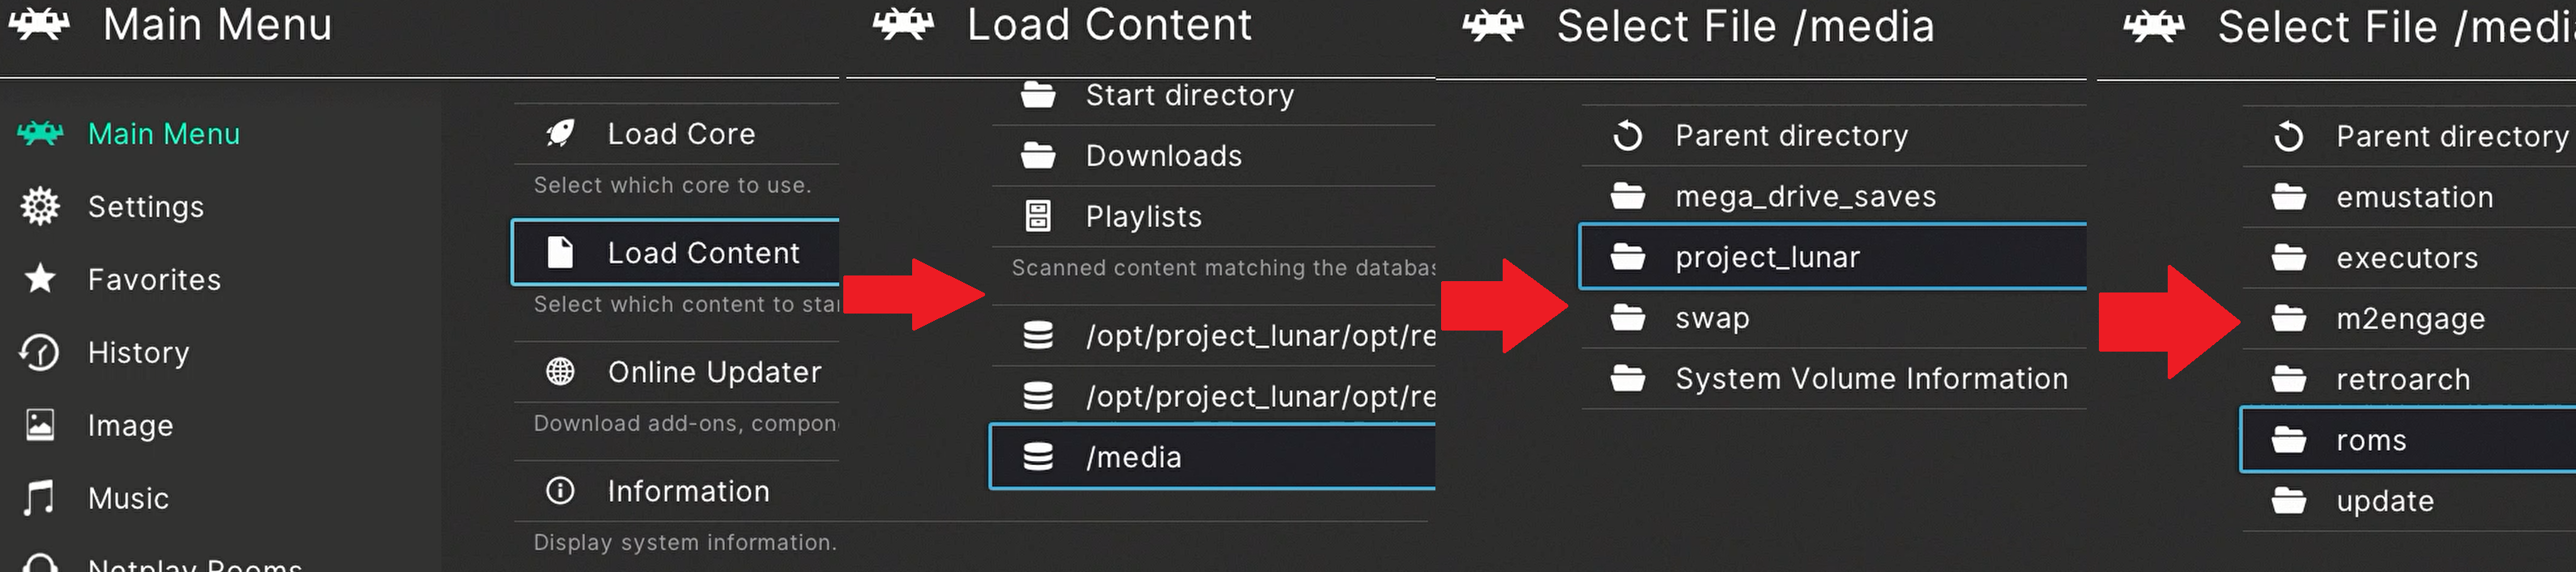
 11. In Retroarch go to Load Content/media/project Lunar/roms.
 The emulators and roms are stored on your USB drive, so you must keep it attached to the Sega Mini.