Project Lunar will allow users to install more games/emulators on to the Sega Genesis Mini!
Items Needed:
1) Sega Genesis Mini: You can still get unopened Sega Mini on Ebay here: https://ebay.us/4X7pt9
2) Project Lunar from the Github Page
3) Data Transfer Micro-USB cable (the Micro-USB that comes with the Sega Genesis Mini is only a charging cable and will not work!)
1. Download ProjectLunar-installer.zip.
- Download and Extract Project Lunar.
2. Launch ProjectLunar-installer.exe.
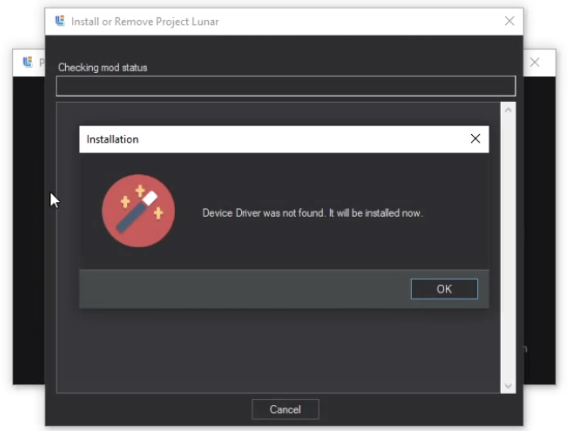
- Install Project-Lunar (It’s OK if you get the above message), and click OK.
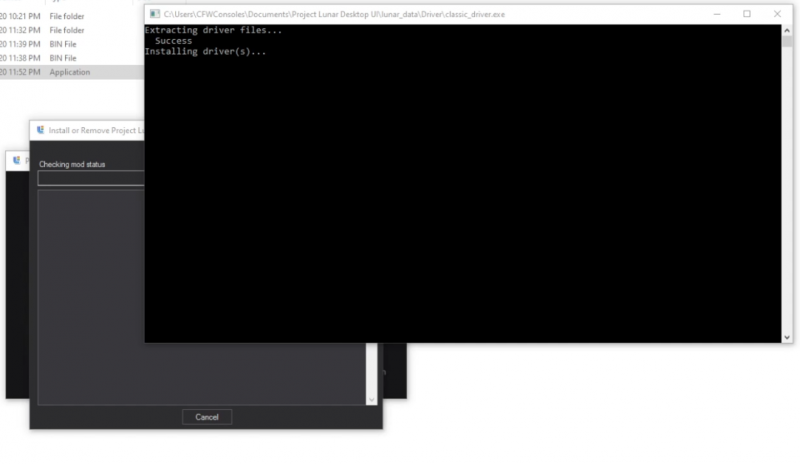
- Wait for the prompt about installing drivers.
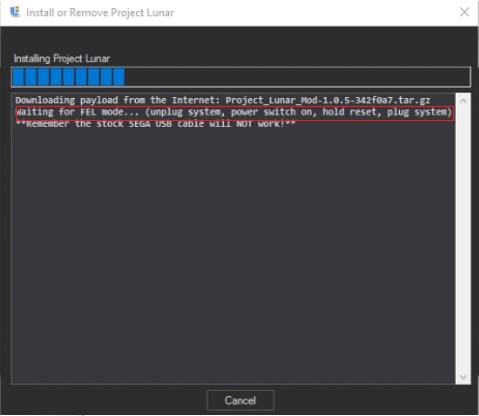
3. Get the Sega Genesis Mini Ready for Connection to PC.
- When you see the message above you need to start connecting the Sega Genesis Mini to the PC.
4. Unplug all cables from the Sega Genesis mini.
- This includes the controller and power cord.
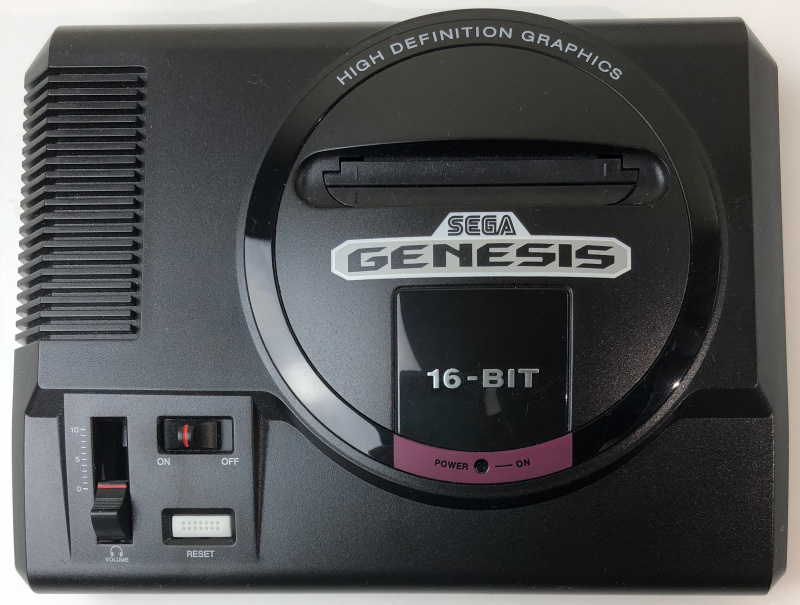
5. Turn on the Sega Genesis Mini.
- Flip the power switch on.
6. Press and hold down the Reset button.
- While holding down the Reset button, plug in the data transfer micro-USB cable.
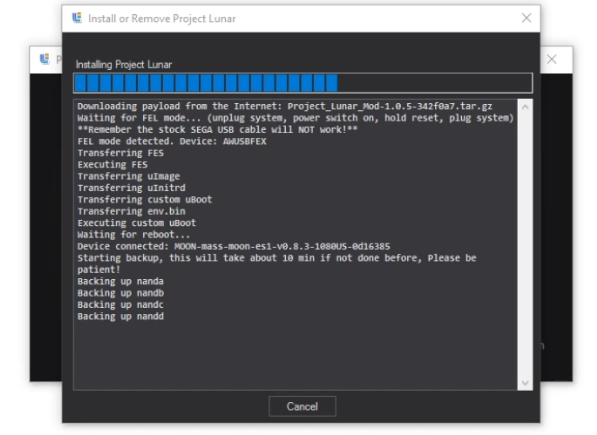
7. Wait for Project Lunar to Install.
- This should take about 10 minutes.
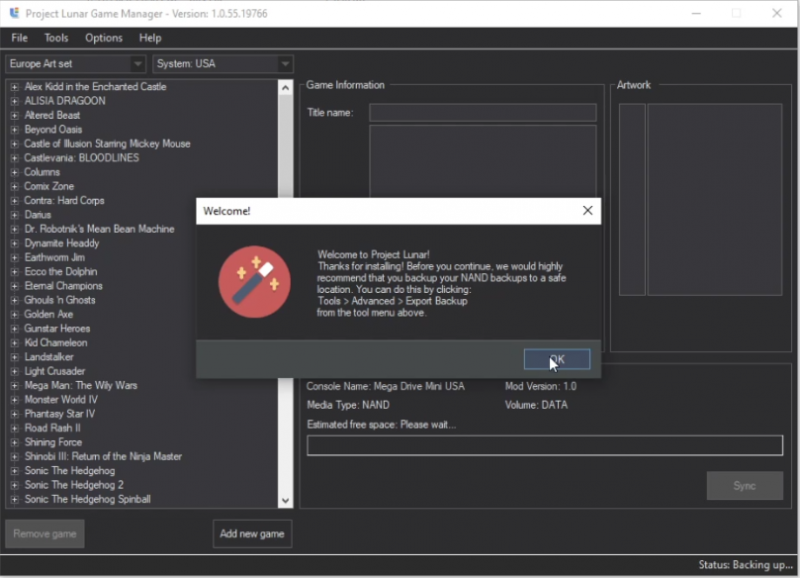
8. Save Back-Up Files.
- Project Lunar made a NAND backup for exporting.
- Go to Tools/Advanced/Export Backup and save it somewhere on your PC.
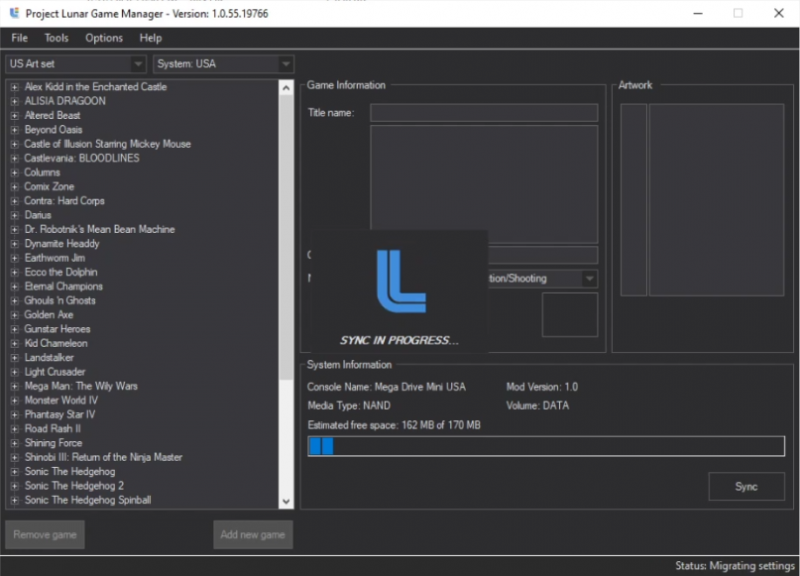
9. Wait for Project Lunar to Sync to Sega Genesis Mini.
- Project Lunar will sync to determine how much space is left on the Sega Genesis Mini.
- Once the sync is done (about 20 seconds), the Add new game button will light up.
To add more games to the Sega Genesis Mini see the next page here.


7 replies on “Install Project Lunar”
I think you should make a video about this on YouTube…
will it work on imac?
It seems that it doesn’t, you have to use a VirtualBox or find a PC.
hi i need bit help i can not uninstall project lunar as i lost nand backup..any idea to make another backup …thanks
That’s quite a problem you have there, try this backup tool from the Project Lunar creator’s page here. See if that creates the backup you need.
We need sonic 3 ristar cool spot and Outrunners
You have to find the roms for the games you want.